Interactive User Guide - SoundJet R1 / BTTC-219

Hear airplane audio through your own Bluetooth headphones.

SoundJet R1 plugs into a 3.5 mm audio output and sends the sound directly to AirPods or Bluetooth headphones. You do not select SoundJet R1 in a phone Bluetooth menu.

Fix a problem
Avantree SoundJet R1 airplane Bluetooth transmitterTwo headphonesUp to 25 hours

First, know what connects to what

SoundJet R1 sits between the screen and your headphones.

Airplane screen3.5 mm AUDIO OUT
SoundJet R1Bluetooth transmitter
Your headphonesAirPods / Bluetooth

Important: Pair the headphones directly with SoundJet R1. Temporarily turn off Bluetooth on nearby phones, tablets, and computers so they cannot take the connection.

Quick setup

Four steps. One clear result.

Keep SoundJet R1 and your headphones within 3 ft / 1 m during pairing.

STEP 1

Put your headphones in pairing mode.

Turn off Bluetooth on nearby phones and computers first. Simply turning headphones on is not enough—they must be in pairing mode.

Choose your headphones

Choose your headphones

  1. Select a brand on the left or above.
  2. Follow the model-specific pairing instruction.
  3. Do not continue until the headphone or case light shows pairing mode.
Ready whenThe headphone or case indicator is flashing for pairing.

Use SoundJet R1

Travel, reconnect, or share.

Before your flight

  1. Charge SoundJet R1 fully.
  2. Pair and test it with a laptop or another 3.5 mm source.
  3. Turn it off after testing.

Reconnect next time

  1. Turn off nearby phone Bluetooth.
  2. Turn on your headphones, then SoundJet R1.
  3. If needed, press MFB once to reconnect the last device.

Add a second headphone

  1. Keep headphone 1 connected.
  2. Hold MFB for 2 seconds until the second connection light alternates red + blue.
  3. Put headphone 2 in pairing mode and wait 5-10 seconds.
  4. Both connection lights should become solid blue.

On the plane

Use the correct jack.

The included two-prong adapter is only for airplane seats with two 3.5 mm sockets. It is not needed for a normal single headphone jack.

OSingle 3.5 mmPlug SoundJet R1 in directly.
OOTwo 3.5 mm socketsUse the included dual-prong airplane adapter.
OoMixed-size socketsUse only the full-size 3.5 mm headphone socket.

Fix a problem

Choose what you see.

Each fix explains the signal, the action, and the expected result.

!Headphones will not pair
  1. Turn off Bluetooth on nearby phones, tablets, and computers.
  2. Confirm the headphone or case light shows pairing mode, not merely power on.
  3. Hold SoundJet R1 MFB for 2 seconds until its light alternates red + blue.
  4. Keep the devices within 3 ft / 1 m.

Success: SoundJet R1 becomes solid blue.

AAirPods case has no rear button
  1. Keep the AirPods in the case and open the lid.
  2. For AirPods 4 or AirPods Pro 3, double-tap the front of the case.
  3. Wait for the case light to flash white.

Older AirPods and AirPods Pro cases use the rear setup button instead.

BSolid blue, but no sound
  1. Confirm the 3.5 mm plug is fully inserted into a headphone / AUDIO OUT jack.
  2. Start playback and test the same jack with wired headphones if possible.
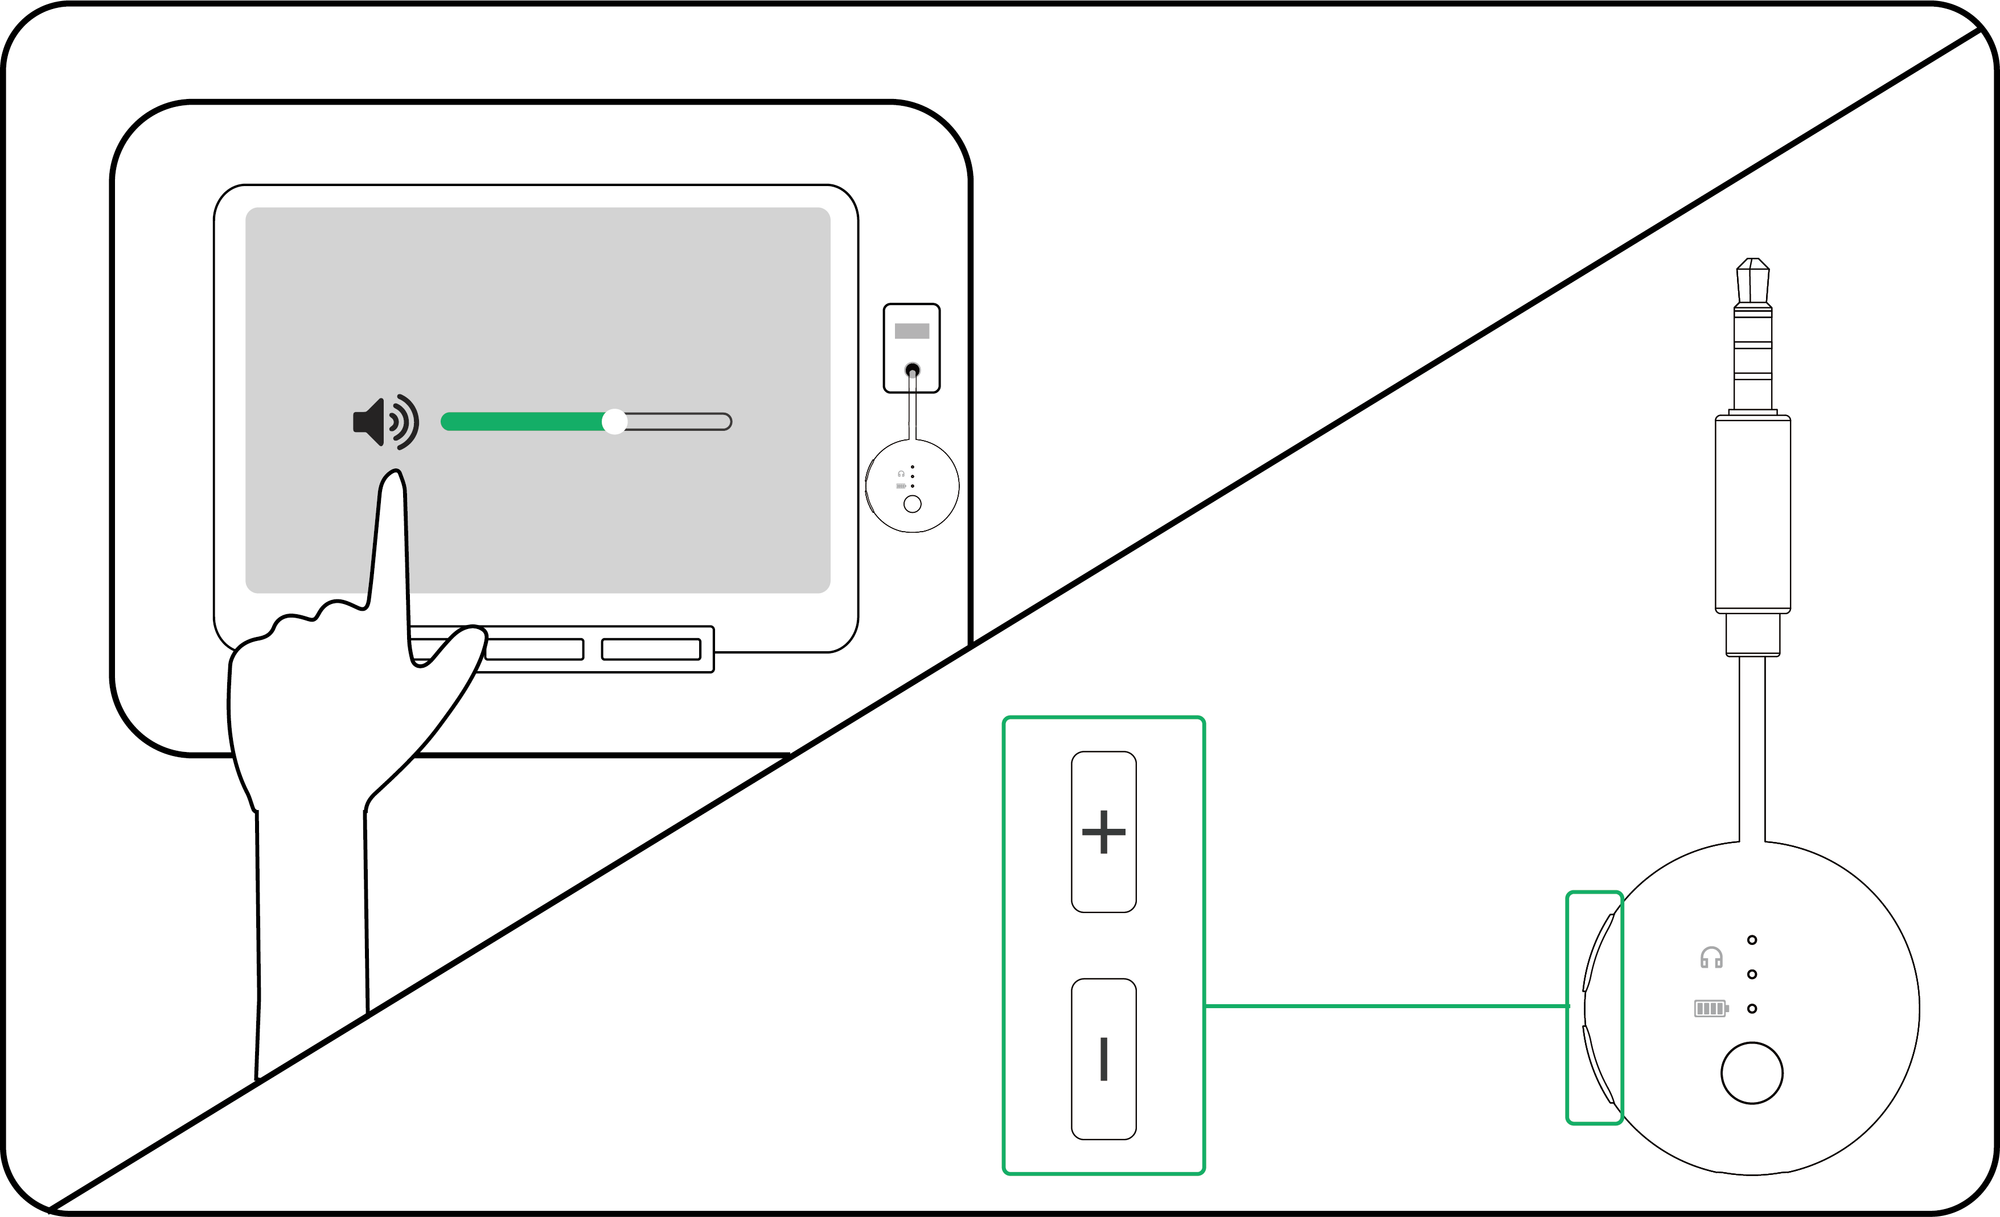
  3. Raise volume in this order: source, headphones, then SoundJet R1 +/-.
2Only one headphone connects
  1. Keep headphone 1 connected.
  2. Hold SoundJet R1 MFB for 2 seconds to open the second pairing slot.
  3. Put headphone 2 back in its case briefly, then re-enter pairing mode.
  4. Wait 5-10 seconds without disconnecting headphone 1.
L/RSound from one side only
  1. Push the SoundJet R1 plug fully into the audio jack.
  2. If using the dual adapter, firmly reconnect both adapter plugs.
  3. Turn off phone Bluetooth, put the earbuds in their case for about 3 seconds, then remove them.
  4. If needed, reset and pair again.
RClear all saved pairings
  1. Turn on SoundJet R1.
  2. Hold + and - together until the indicator appears pink for 3 seconds.
  3. Release when it returns to alternating red + blue.

Result: pairing history is cleared and SoundJet R1 is ready for a fresh connection.

ZAudio is delayed
  • Some Bluetooth delay is normal.
  • Use headphones supporting aptX Low Latency or aptX Adaptive for lower delay.
  • Keep devices close and away from crowded wireless areas.
  • Do not use for instruments or real-time monitoring.
CCharging questions
  • Use USB-C with a 5 V power source rated 500 mA-2 A.
  • Solid red means charging; the charging light turns off when full.
  • Red flashing means low battery.
  • SoundJet R1 supports use while charging.

Official resources

Manual, FAQ, and support.

FIRMWARE UPDATE

Update SoundJet R1 when a fix or feature requires it.

Not part of normal setup. Update only when Avantree Support recommends it or a troubleshooting guide directs you here.

  1. 1
    Download Avantree UpdaterChoose the supported Windows or macOS version on the official update page.
  2. 2
    Connect SoundJet R1 to your computerUse a USB data cable. A charge-only cable cannot transfer the update.
  3. 3
    Run the updateKeep SoundJet R1 connected until the updater confirms completion, then restart it.

During the update: do not unplug SoundJet R1, close the updater, or turn off the computer.

Reference

Buttons, lights, and specifications.

Controls and indicators

MFBHold 2 sec from off: power on. Hold 2 sec while on: pairing. Hold 5 sec: power off. Press once: reconnect.
+ / -Press or hold to adjust volume. Hold both until pink appears to clear pairing history.
Red + blueAlternating: pairing mode.
Solid blueConnected.
Blue every 1 secReconnecting to the last device.
Blue every 5 secStandby, not connected.
Solid red / offCharging / fully charged.

Key specifications

BluetoothVersion 5.3
ProfilesA2DP, AVRCP
CodecsaptX Adaptive / LL / HD, aptX, SBC
Typical rangeUp to 30 ft / 10 m
PlaytimeUp to 25 hours
ChargingUSB-C
Weight13.5 g
Audio input3.5 mm analog

Still need help?

Get the right help for SoundJet R1.

For the fastest answer, start with a product-specific support ticket. Choose SoundJet R1 / BTTC-219 and include your headphone model, the SoundJet R1 light pattern, and a photo or screenshot when possible.