Aria 8090T-Power&Charging related
Categories
Aria 8090T-Power&Charging related
- Charging methods:
1.Using the Charging Cable: Insert provided USB / Type C cable
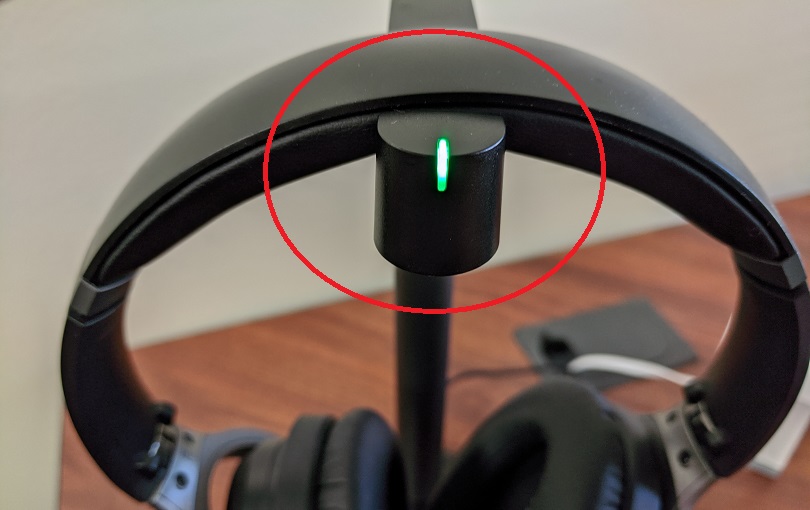
2. Using the Desktop Charging Stand:
Step 1): Make sure the stand is plugged in.
You must plug the desktop charging stand in with the provided micro USB cable. The port is on the backside of the stand.
Step 2): Insert the headphones.
Place the headphones on the stand as directed in the image below. Make sure that the charging pins are firmly inserted into the port entirely.
The LED indicator on the charging stand will remain WHITEwhile charging and turn to GREEN when charging is complete.
- Battery – 650mA built-in rechargeable Lithium polymer battery
- Low battery – Voice propmt warning "Low battery" when 30% capacity of the power is left, red LED light flashes once every 10s.
- Suggested power source specification: 5V /0.5-2A
- Fully charge time – 2H
- Used time after fully charged – 24H (ANC Off); 15H (ANC On)
- Standby time – Around 35 days (ANC Off)
- Indicators
- Charging - LED on the headphone turns RED
- Fully charged - LED on headphone turns OFF
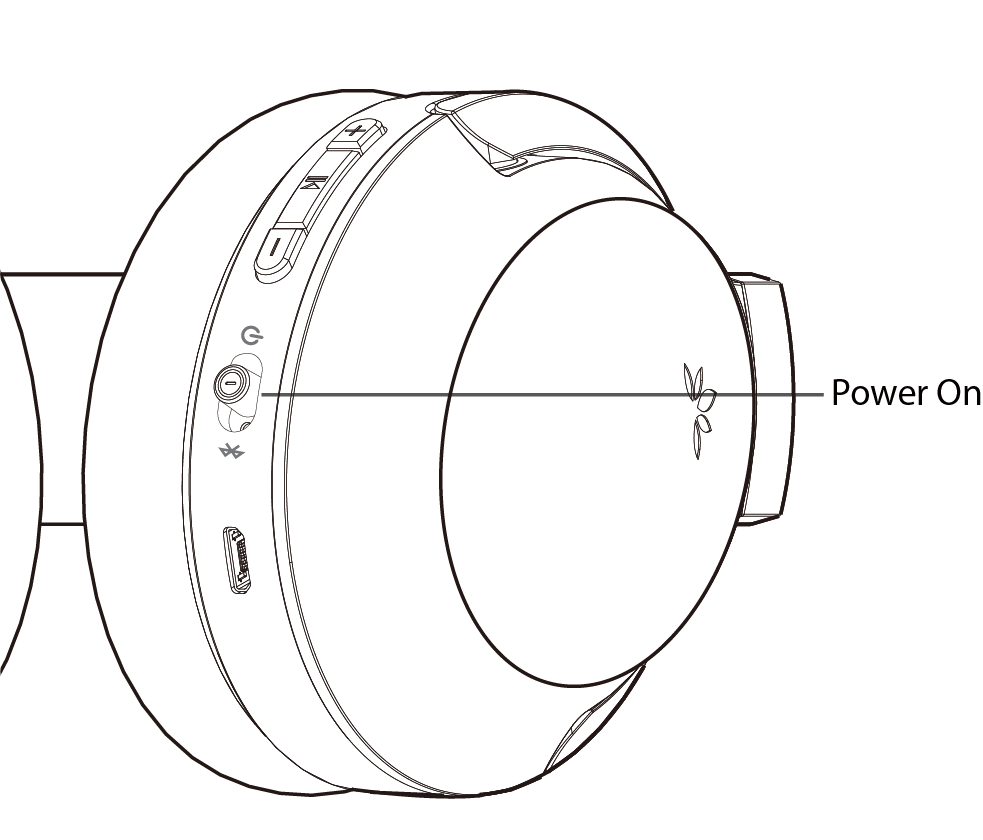
- Power On / Off
- Power On: Slide the power switch to the middle position
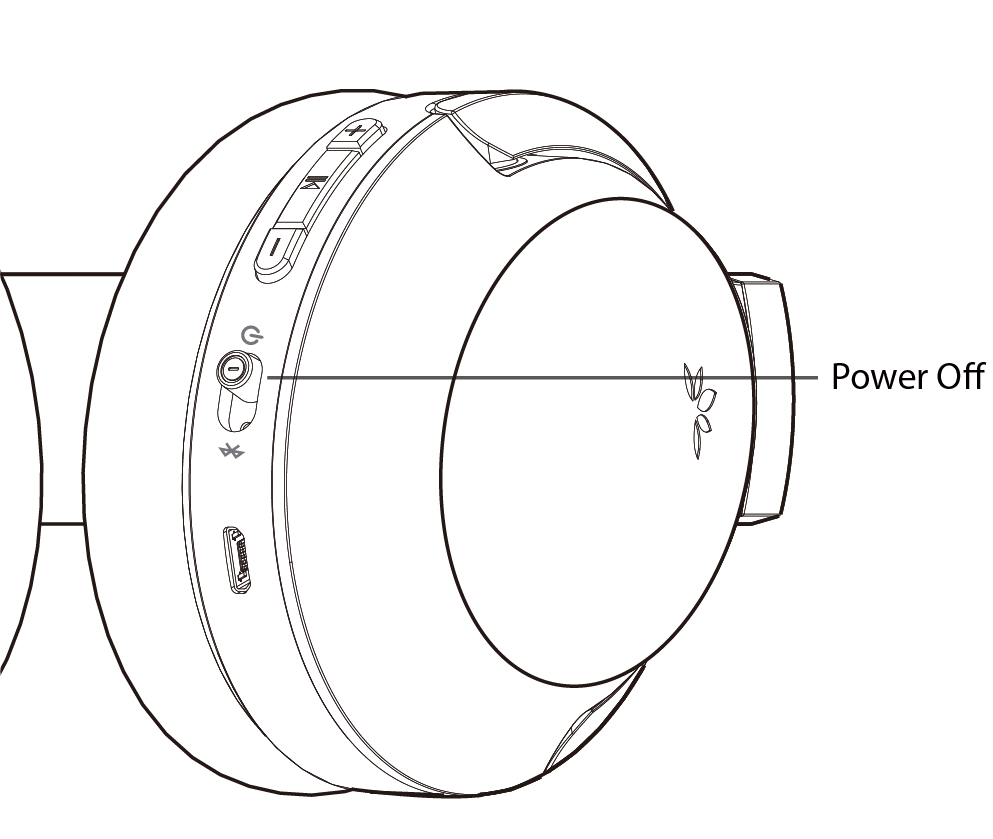
- Power Off Manually: Slide the power switch to the power icon side
- Power Off Automatically: 10 minutes after disconnected with sound source devic
- Note:
1. You CAN NOT use the headset while it is being charged since it will power off automatically. Please restart the headphones to use after charging is complete.
2. If you can hear the voice prompt say "Low battery, please turn off and charge" or see the LED blinking RED, you will need to charge your headphones.


If you need any assistance, please contact at support@avantree.com.
Go to full product support page of [Aria 8090T]


